Clear every room in one repeatable order and require two independent clues before spending an uncertain shot.
Last checked: 2026-07-10
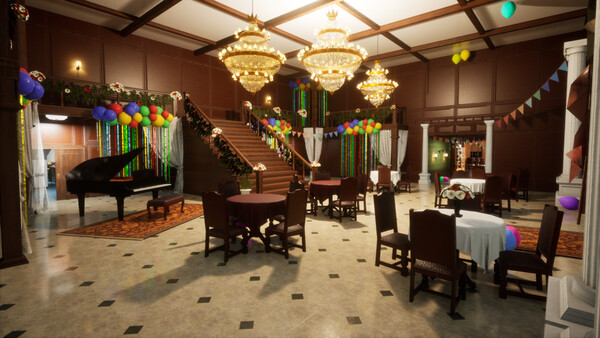
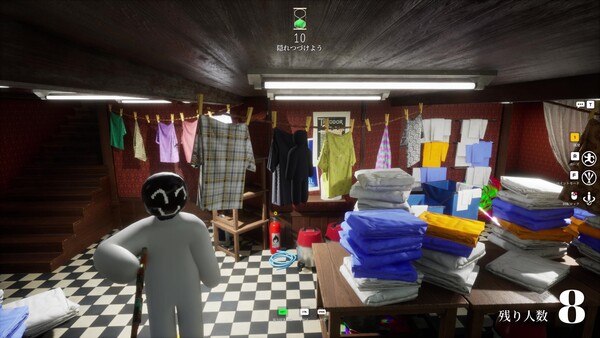
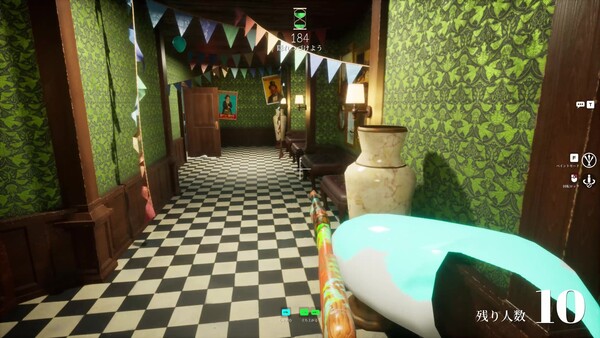
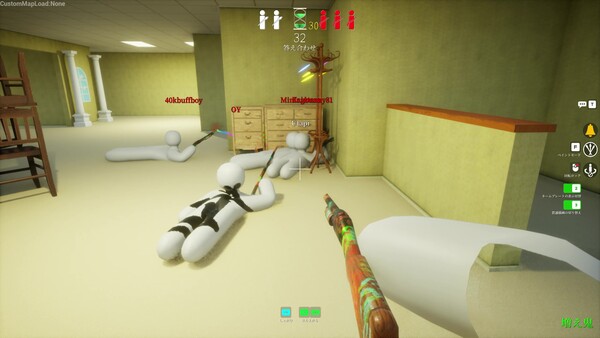
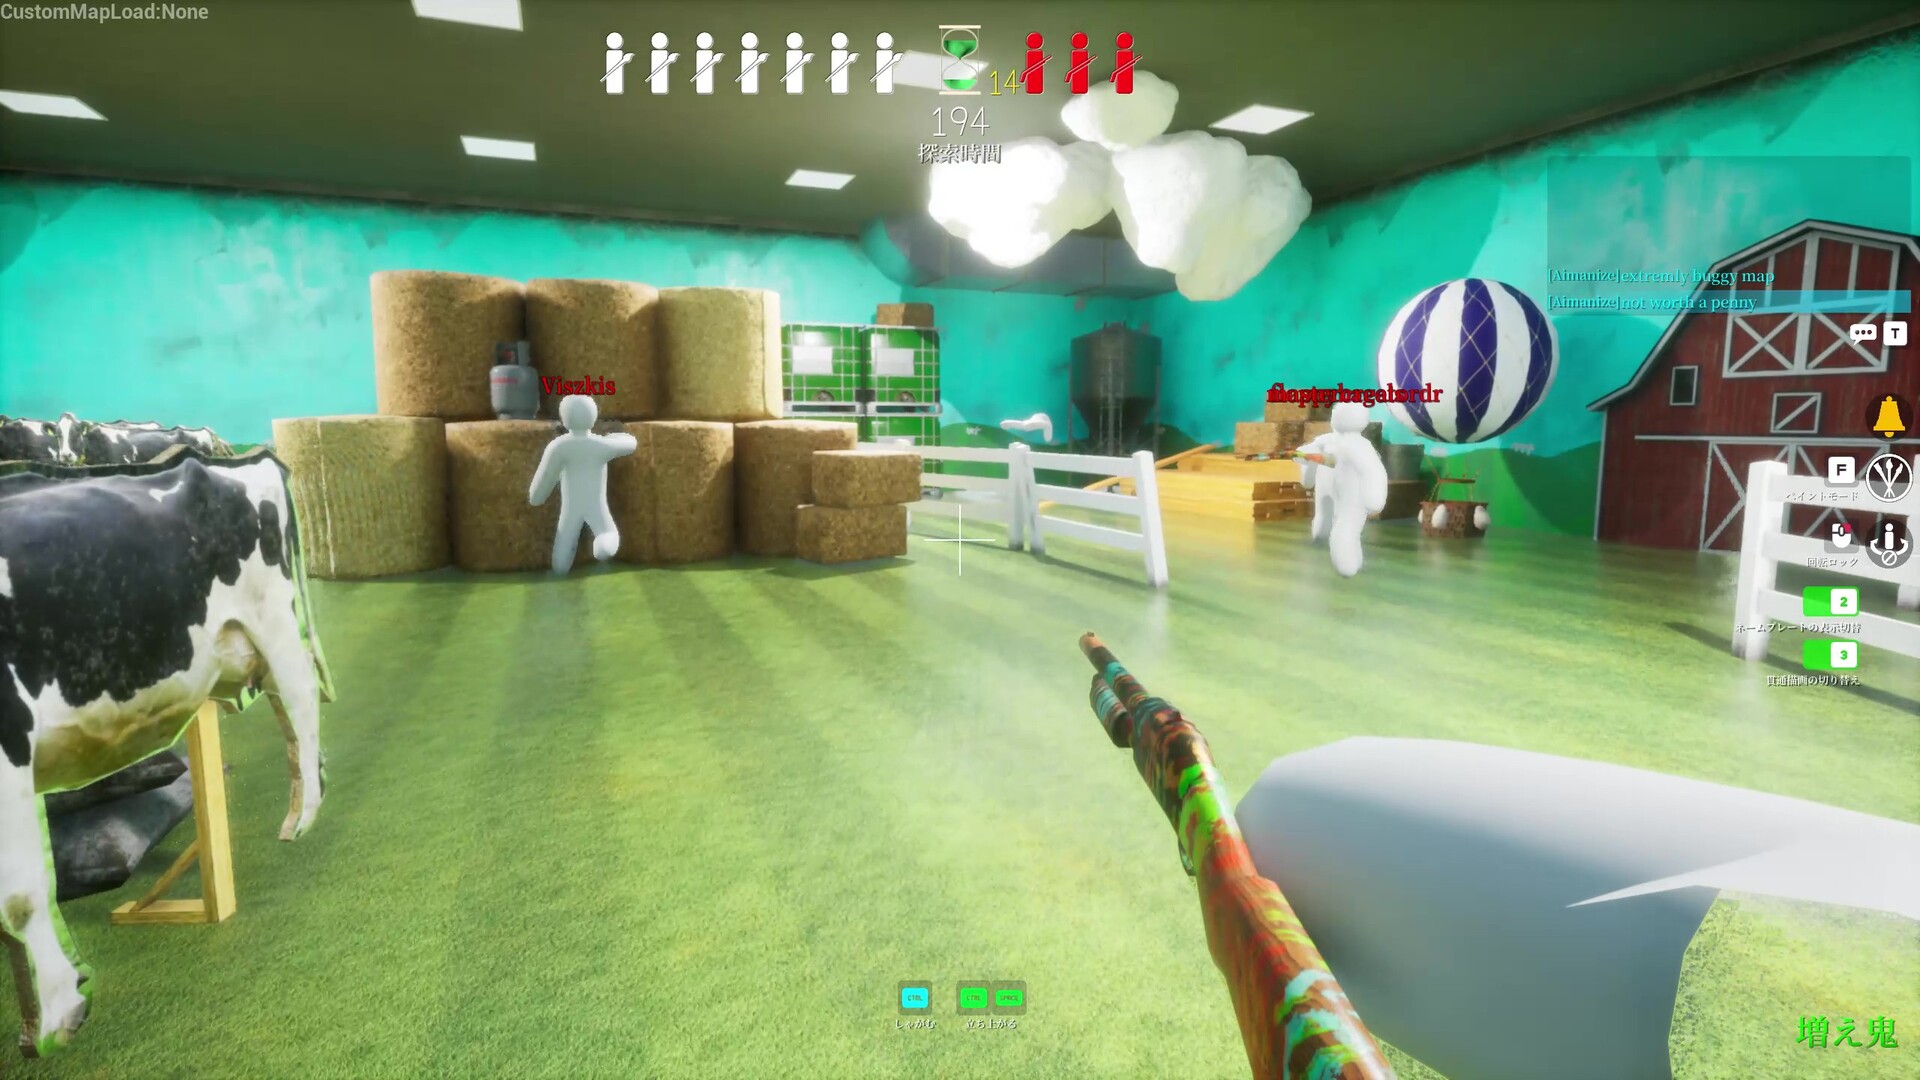
Strong Hiders are not always the wrong color. They can fail through silhouette, brightness, material, placement, or movement. A reliable Seeker therefore clears rooms in a fixed order and fires only after turning suspicion into evidence. The Steam screenshots below are visual references for the kinds of surfaces and sightlines in the game; they do not reveal guaranteed Hider positions.
Use one room scan path
At the doorway, pause long enough to read the room as a whole. Then follow the same path every time:
- Doorway frame: check shapes touching the near left and right edges. Hiders may rely on your attention jumping toward the center.
- Far silhouette: sweep the back wall, ceiling line, and large furniture for heads, shoulders, feet, or a new bump in a straight edge.
- Perimeter: move clockwise around walls, shelves, pipes, and corners. Keep the crosshair at likely body height, but also inspect floor-level and elevated breaks.
- Interior objects: compare repeated chairs, props, supports, and gaps. Ask which object changes the room’s normal spacing.
- Reverse angle: turn back toward the entrance. A paint match that works from the doorway may fail from the side because its thickness or highlight becomes visible.
- Exit check: watch for motion behind you, then leave. Do not rescan one attractive clue indefinitely while other rooms remain unchecked.
Official Steam screenshot references
Practice scanning structure before color
Apply the two-clue shot rule
Before firing at an uncertain target, require two independent clues. This is a practical discipline, not an official mechanic. Useful pairings include silhouette plus wrong shine, misplaced pattern plus body depth, brightness mismatch plus a visible foot, or motion plus an unnatural gap. Two versions of the same clue—such as “slightly wrong red” and “slightly wrong orange”—still count as one color clue.
Shoot
- A shoulder shape also reflects differently from the matte wall.
- A repeated pattern breaks and the break has visible body depth.
- A prop-sized form moves and leaves an unnatural gap.
Hold and verify
- Only the hue seems a little different.
- Compression, distance, or harsh lighting makes the whole area noisy.
- You have not taken one safe sideways step for a second angle.
In a normal situation, a very clear human outline may justify immediate action. The rule is most valuable when evidence is weak or missed shots carry a cost.
Read surface evidence
Make ammo-limit decisions
Official update notes describe an optional Hunter ammo-limit setting in which misses consume ammo, hits restore it, and Hiders can win when all Hunters run out. Because hosts and modes may vary, confirm the lobby rules rather than assuming every match uses this condition.
When ammunition matters, classify a target before firing. High confidence: two clues, one of them geometric or movement-based—shoot. Medium confidence: one strong clue or two uncertain visual clues—mark the location mentally, change angle, and return after clearing nearby cover. Low confidence: color difference only—hold fire. If teammates are present, call the surface and room feature before shooting so several Hunters do not spend guesses on the same weak target. Never “test” a long row of similar props when a visual comparison can eliminate most of them first.
Adapt to the Hider’s level
Against beginners: clear obvious dark corners, blank-wall centers, and fully exposed human poses quickly, but still follow the perimeter so bait does not break your route. Against intermediate Hiders: expect good color with one weak material zone or exposed landmark; use sideways movement and reverse angles. Against advanced Hiders: search placement logic. Ask which seam, repeated pattern, or prop gap best conceals a narrow body, then compare that area with the room’s visual grammar. Vary your room order between rounds so experienced opponents cannot rely on your timing. Do not claim cheating from one excellent hide; use moderation or another lobby only when there is consistent, match-specific reason for concern.
Three-level practice plan
- Level 1 — Complete clears: use the six-step room path without firing during the first sweep. Name every suspicious silhouette, then verify it on the reverse angle.
- Level 2 — Evidence pairs: before each shot, state two clues: “broken stripe plus shoulder depth,” for example. Review misses and identify which clue was not independent.
- Level 3 — Resource search: practice in ammo-limit lobbies when available. Rank targets high, medium, or low confidence, coordinate checks with teammates, and change your room order against experienced Hiders.